How to Waterproof Your Shower: Step-by-Step Guide
Table of Contents
How to Waterproof Your Shower: Step-by-Step Guide

October 6, 2026
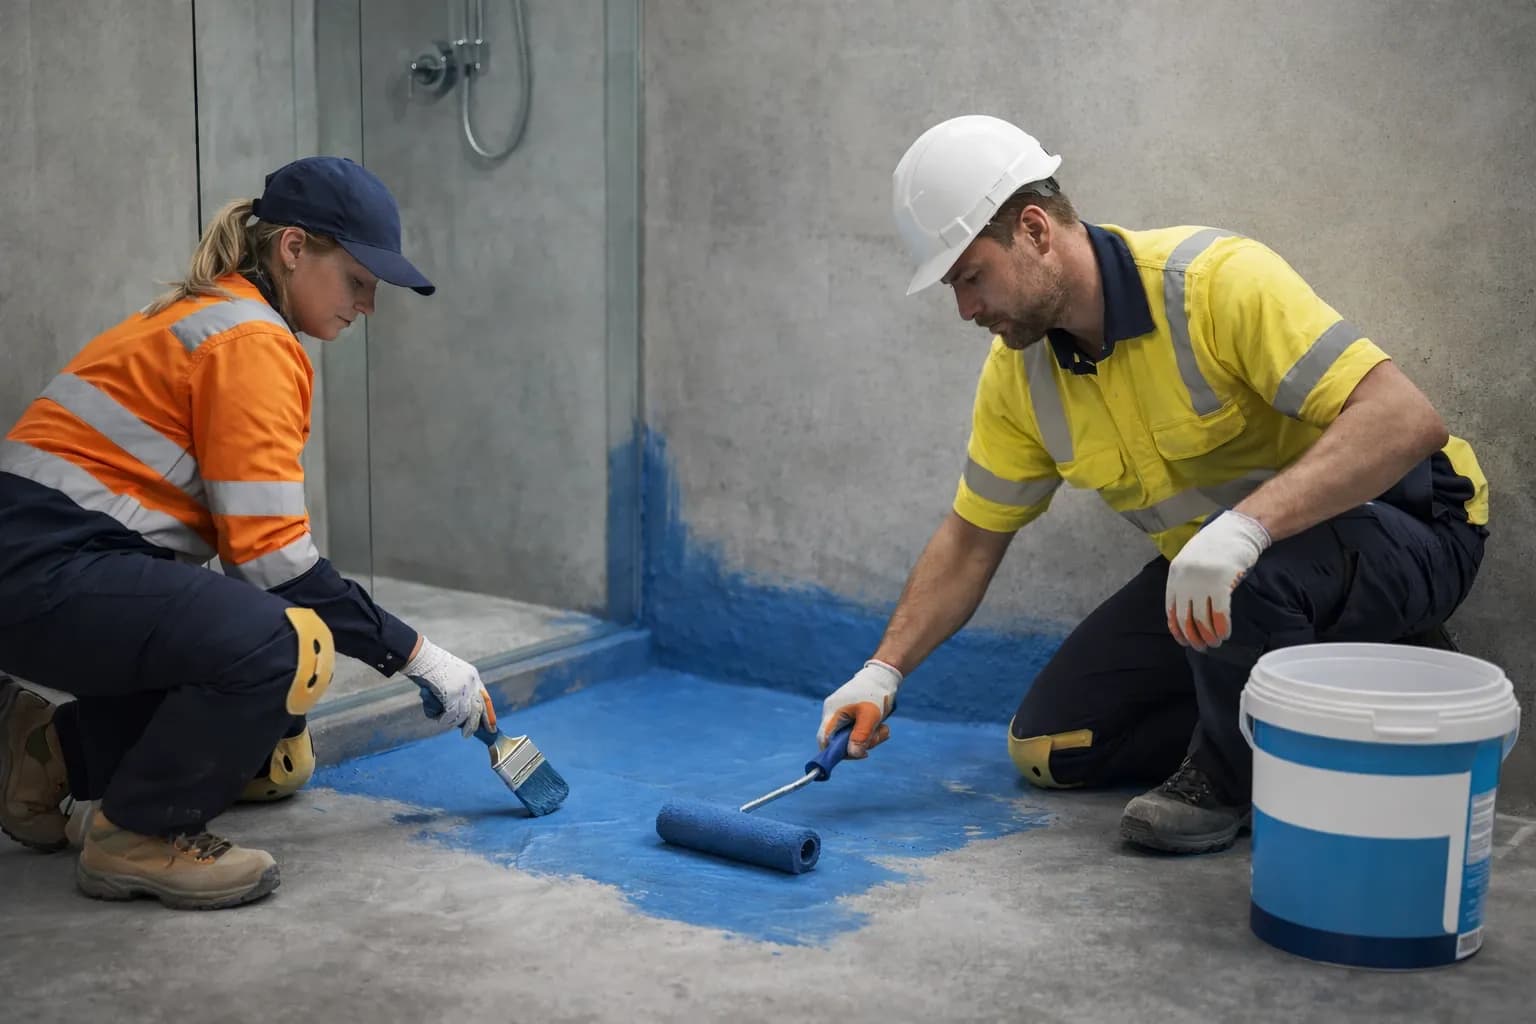
Summary: To waterproof a new shower, prepare and prime the surface, seal joints and penetrations, apply two coats of membrane and let each cure before flood testing and tiling. This guide walks through each step, from the checklist of materials and tools to the final inspection.
A great bathroom starts with what you don't see. Waterproofing sits behind the tiles, protecting the walls and floor from moisture. Get the waterproofing wrong, and you can easily end up with leaks, damage and costly repairs.
How you waterproof a shower depends on whether it's new or an existing tiled shower showing leaks. For a new shower, prepare and prime the surface, seal joints and penetrations, apply two coats of membrane, and let each cure before flood testing. Once it passes, the area is ready for tiling. For a leaking tiled shower, a full strip-out may not be needed and the process may be simpler.
Read on for our step-by-step guide to waterproofing a shower, covering everything from preparing the surface to sealing joints.
Checklist: What You'll Need
Before applying a shower waterproofing membrane, make sure you have the right materials and application tools ready. At Zocoo Australia, we stock a wide range of waterproofing products.
| Materials | Tools |
|---|---|
| Primer suitable for the substrate | Rollers |
| Liquid waterproofing membrane | Brushes |
| Bond breaker or suitable sealant for wall and floor junctions | Mixing equipment, as specified by the product |
| Reinforcing tape or fabric | Application and smoothing tools, as specified by the product |
| Waterstop or puddle flange for the waste | Cleaning tools for surface preparation |
How to Waterproof a Shower
Shower waterproofing needs extra attention around corners, joints, penetrations and the floor waste. This is where movement and gaps commonly create opportunities for water to get through. The key is to prepare the substrate properly, seal the vulnerable areas and apply the membrane according to the product requirements.
1. Prepare the Substrate
Good waterproofing starts with good preparation. Before applying anything, the substrate moisture must be below 8% and ready for the primer. For concrete, cement render and masonry, clean the entire area thoroughly, removing dust, dirt, mould, grease and oil.
Mark the required waterproofing height on the walls and use a level to keep the line consistent around the shower. Mask along the line for a clean finish.
Check the substrate for cracks, holes and gaps around pipes and other penetrations. Repair any defects and allow the repairs to cure before moving on to priming.
2. Prime with PM-21
PM-21 is a two-part epoxy repair primer designed for concrete, cement and mortar. It penetrates porous surfaces to help seal and prepare the substrate before the waterproofing system is applied.
Mix Part A and Part B at a 1:2 ratio by weight. Mix with a slow-speed mixer, or by hand, for at least three minutes until the mix is homogeneous, taking care not to entrain air.
PM-21 has a pot life of approximately 30 minutes, so mix only the amount you can apply within that time. Apply the primer evenly using a brush, roller or electric sprayer. Highly porous surfaces require a second coat. Allow the primer to dry before moving on to the next stage, following the product's technical data sheet.
3. Detail the Joints, Corners and Penetrations
This is the step that decides whether a shower leaks. These areas are more vulnerable to movement and are common points for water to find a way through.
Using the recommended flexible filler product, reinforce joints where required. For example, SH-502 can be used as part of a compatible waterproofing system. Follow the product's mixing ratio, application instructions and working time. Pay particular attention to the wall-to-wall corners, wall-to-floor junction and areas around pipes and the waste.
4. Apply the Recommended Membrane
Once the detailed areas are ready, apply the waterproofing membrane evenly across the walls and floor. Work systematically so the entire required area is covered, including the previously detailed sections.
Avoid relying on appearance alone to judge membrane thickness. Follow the coverage requirements and application instructions on the membrane you select to achieve the specified coating thickness. Apply the second coat only after the first has reached the required recoat stage.
We have a range of membranes listed, including commonly used ones such as, GB-75 and WP-16. Contact us, and we can help you choose the right waterproofing requirements for your project.
5. Inspect Before You Tile
Don't rush into tiling as soon as the membrane looks dry. Inspect the completed waterproofing first, checking the walls, floor, corners, joints and areas around penetrations and the waste.
Look for missed areas, pinholes, thin coverage, damage or other visible defects. Any issues should be addressed before tiling begins. Once the waterproofing has cured and passed the required checks, the shower area can move on to the next stage of the renovation.
Enquire About Waterproofing Your Shower Today
Need help choosing the right waterproofing system for your shower? Contact Zocoo Australia to discuss your substrate, application and waterproofing requirements.
Take the guesswork out of shower waterproofing. Our friendly team can help you understand the options and plan the right approach for your project.
Frequently Asked Questions
Can an existing bathroom be re-waterproofed without a full strip-out?
+Can I waterproof my own shower in Australia?
+How many coats of waterproofing does a shower need?
+